3. Compile Project
This chapter will guide you through compiling the project source code to generate flashable firmware files.
Note
Before starting compilation, please ensure you have completed all steps in 1. Development Environment Setup.
Compilation Preparation
Confirm that you have:
Installed the Pico SDK and development toolchain
Set the
PICO_SDK_PATHenvironment variableDownloaded the project source code
Initialized project submodules. If you cloned the project with
git clone --recursive, this is already done.
Quick Start
If you have already configured the environment, you can directly execute the following commands from the project root directory.
Pico W / Pico WH
cd ~/LAFVIN-PICO-Development-Kit
cmake --preset pico-w
cmake --build --preset pico-w -j8
Pico 2 W
cd ~/LAFVIN-PICO-Development-Kit
cmake --preset pico2-w
cmake --build --preset pico2-w -j8
Detailed Compilation Steps
Step 1: Enter Project Directory
cd ~/LAFVIN-PICO-Development-Kit
Confirm you are in the project root directory. You should see the CMakeLists.txt and CMakePresets.json files.
Step 2: Choose a Build Preset
The project now uses CMake presets. You do not need to create or enter the build directory manually.
Preset |
Target Board |
Output Directory |
|---|---|---|
|
Pico W / Pico WH. The generated UF2 has also been tested on the original Pico hardware. |
|
|
Pico 2 W |
|
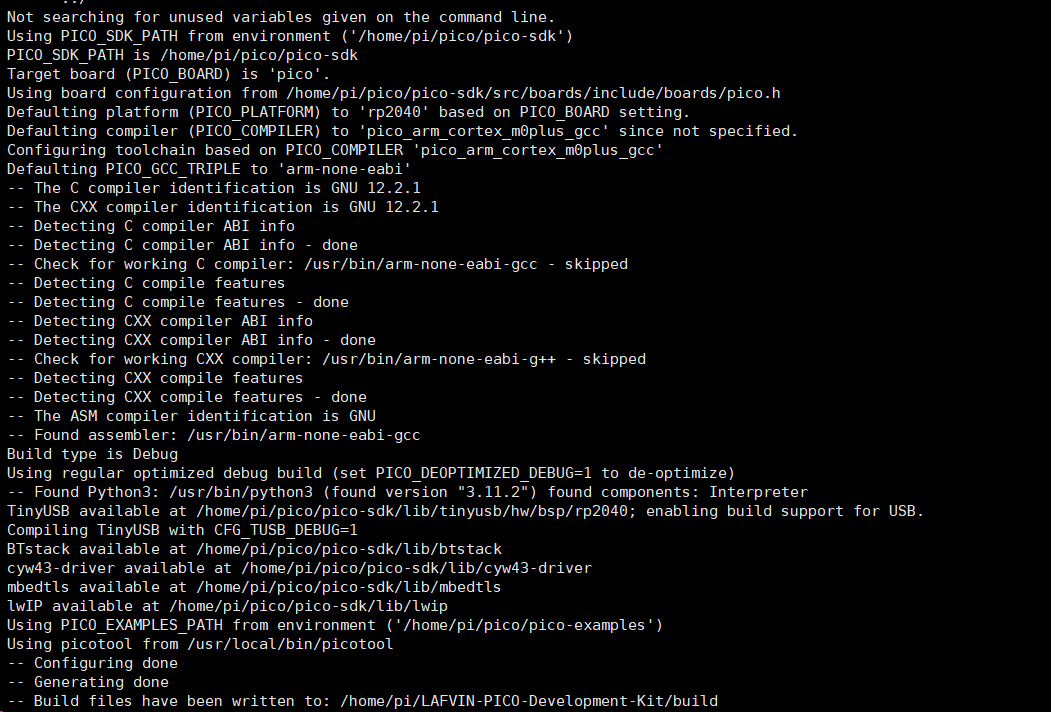
Step 3: Run CMake Configuration
For Pico W / Pico WH:
cmake --preset pico-w
For Pico 2 W:
cmake --preset pico2-w
Parameter descriptions:
pico-w: Configures the project for Pico W / Pico WH.pico2-w: Configures the project for Pico 2 W and enables the kit’s active-low button setting.Both presets enable
PICO_OPTIMIZED_DEBUG=1,CMAKE_EXPORT_COMPILE_COMMANDS=TRUE, andCMAKE_BUILD_TYPE=Debug.
This command will:
Check compilation environment and dependencies
Find Pico SDK
Configure the correct FreeRTOS kernel and LVGL
Generate the build files in
build/pico_worbuild/pico2_w
You should see output similar to the following:
Attention
If you see a PICO_SDK_PATH not found error, please return to 1. Development Environment Setup to check environment variable settings.
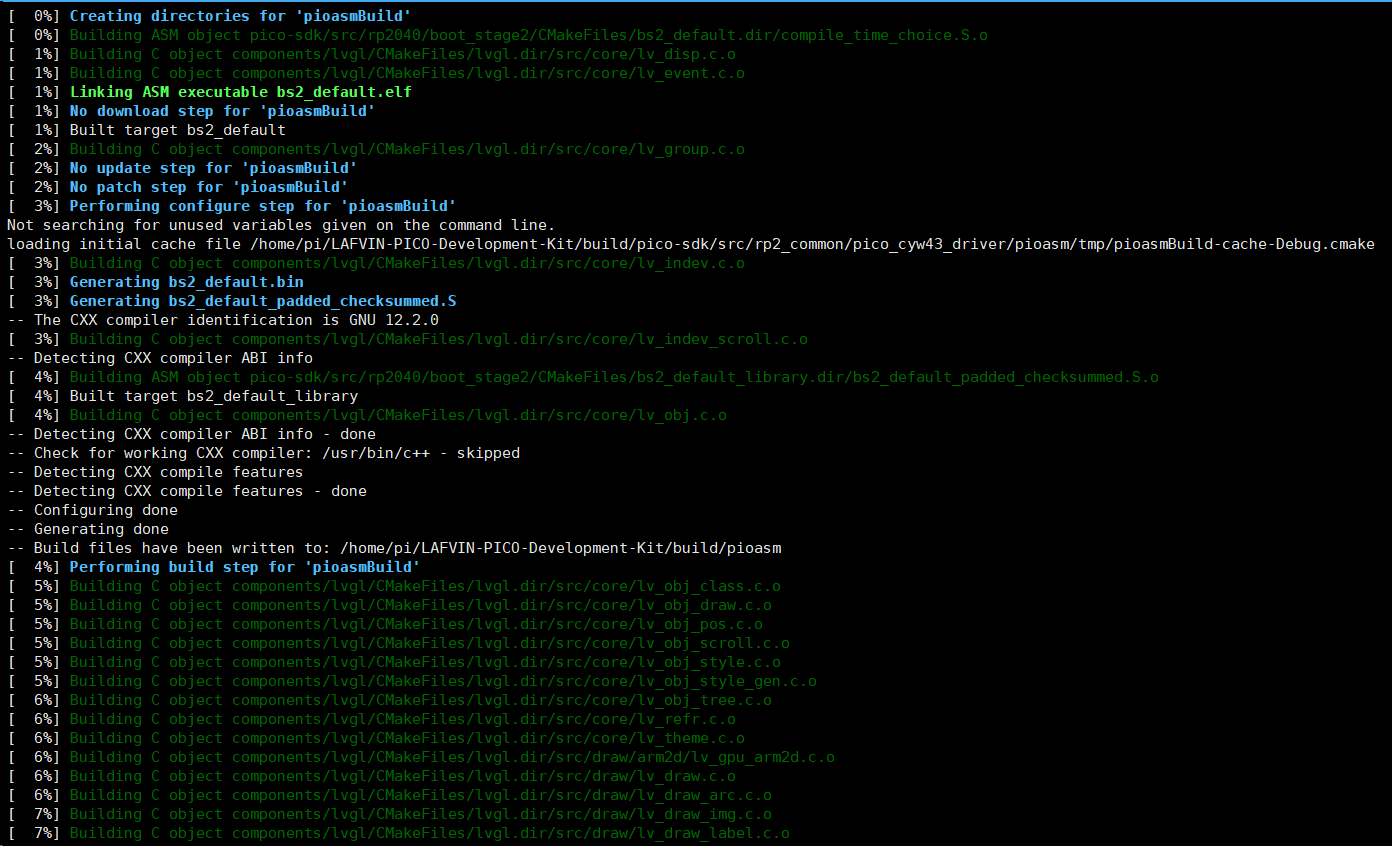
Step 4: Compile Project
For Pico W / Pico WH:
cmake --build --preset pico-w -j8
For Pico 2 W:
cmake --build --preset pico2-w -j8
Parameter description:
-j8: Use 8 parallel tasks to accelerate compilation. You can adjust this number based on your CPU cores.
The compilation process takes approximately 2-3 minutes. You will see output similar to the following:
Step 5: Verify Compilation Results
After successful compilation, check the generated files.
For Pico W / Pico WH:
ls -lh build/pico_w/*.uf2
For Pico 2 W:
ls -lh build/pico2_w/*.uf2
You should see the following file:
hello_world.uf2- This is the firmware file that can be flashed to the target board.
Example output:
-rw-r--r-- 1 pi pi 1.3M Nov 5 10:46 build/pico2_w/hello_world.uf2
Recompilation
Clean and Recompile
If you need to completely recompile both targets:
rm -rf build/pico_w build/pico2_w
cmake --preset pico-w
cmake --build --preset pico-w -j8
cmake --preset pico2-w
cmake --build --preset pico2-w -j8
To clean only one target, remove only its build directory, for example:
rm -rf build/pico2_w
cmake --preset pico2-w
cmake --build --preset pico2-w -j8
Incremental Compilation
If you only modified part of the code, run the build command directly.
For Pico W / Pico WH:
cmake --build --preset pico-w -j8
For Pico 2 W:
cmake --build --preset pico2-w -j8
Compilation Output Description
After successful compilation, the selected build directory will contain the following files. For example, Pico 2 W outputs are located in build/pico2_w.
File |
Description |
|---|---|
|
UF2 firmware file, used for flashing the target board |
|
ELF format executable file, used for debugging |
|
Binary firmware file |
|
HEX format firmware file |
|
Memory map file |
Next Steps
After successful compilation, you can:
Flash Firmware: Refer to the flashing steps in 1. Quick Start Guide
Modify Code: Learn about 2. Code Structure Overview for secondary development
Tip
It is recommended to backup the compiled hello_world.uf2 file for future use.