1. Quick Start Guide
This chapter will guide you to quickly get started with the Pico Development Kit. You only need to download the pre-compiled firmware file and flash it to the Pico board without setting up a complex development environment.
Note
If you want to learn how to compile source code and perform secondary development, please refer to the “Advanced Development” chapter.
Preparation
Before starting, please ensure you have the following items:
Raspberry Pi Pico development board
Micro USB data cable (must support data transmission)
Development kit baseboard
A computer (Windows/Linux/macOS all supported)
Download Firmware File
Visit the project’s GitHub repository homepage: LAFVIN-PICO-Development-Kit
You can find the
hello_world.UF2file on the release page of the project repository and download it to your computer locallyTip
You can also download the uf2 firmware file directly by clicking this link: hello_world.UF2
Flash Firmware to Pico
Follow these steps to flash the firmware to your Pico development board:
Step 1: Enter Flash Mode
Press and hold the BOOTSEL button on the Pico board (white button)
While holding BOOTSEL, connect the Pico to your computer using the Micro USB cable
After successful connection, release the BOOTSEL button
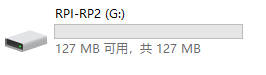
Your computer should recognize a USB storage device named RPI-RP2
Attention
If the RPI-RP2 disk does not appear, please check:
Whether the USB cable supports data transmission (some charging cables do not support data transmission)
Whether the BOOTSEL button was held correctly
Try a different PC USB port
Step 2: Copy Firmware File
Open the RPI-RP2 disk
Drag or copy the downloaded
hello_world.UF2file to the RPI-RP2 diskAfter the file is copied, Pico will automatically start flashing
After flashing is complete, the Pico will automatically restart and the RPI-RP2 disk will disappear
Note
It is normal for the disk to disappear after flashing, indicating that the flashing has completed successfully.
Step 3: Install to Baseboard
Insert the flashed Pico into the slot on the development kit baseboard
Attention
Pay attention to the orientation of the Pico’s USB port and ensure proper insertion
Use a USB cable to power the baseboard
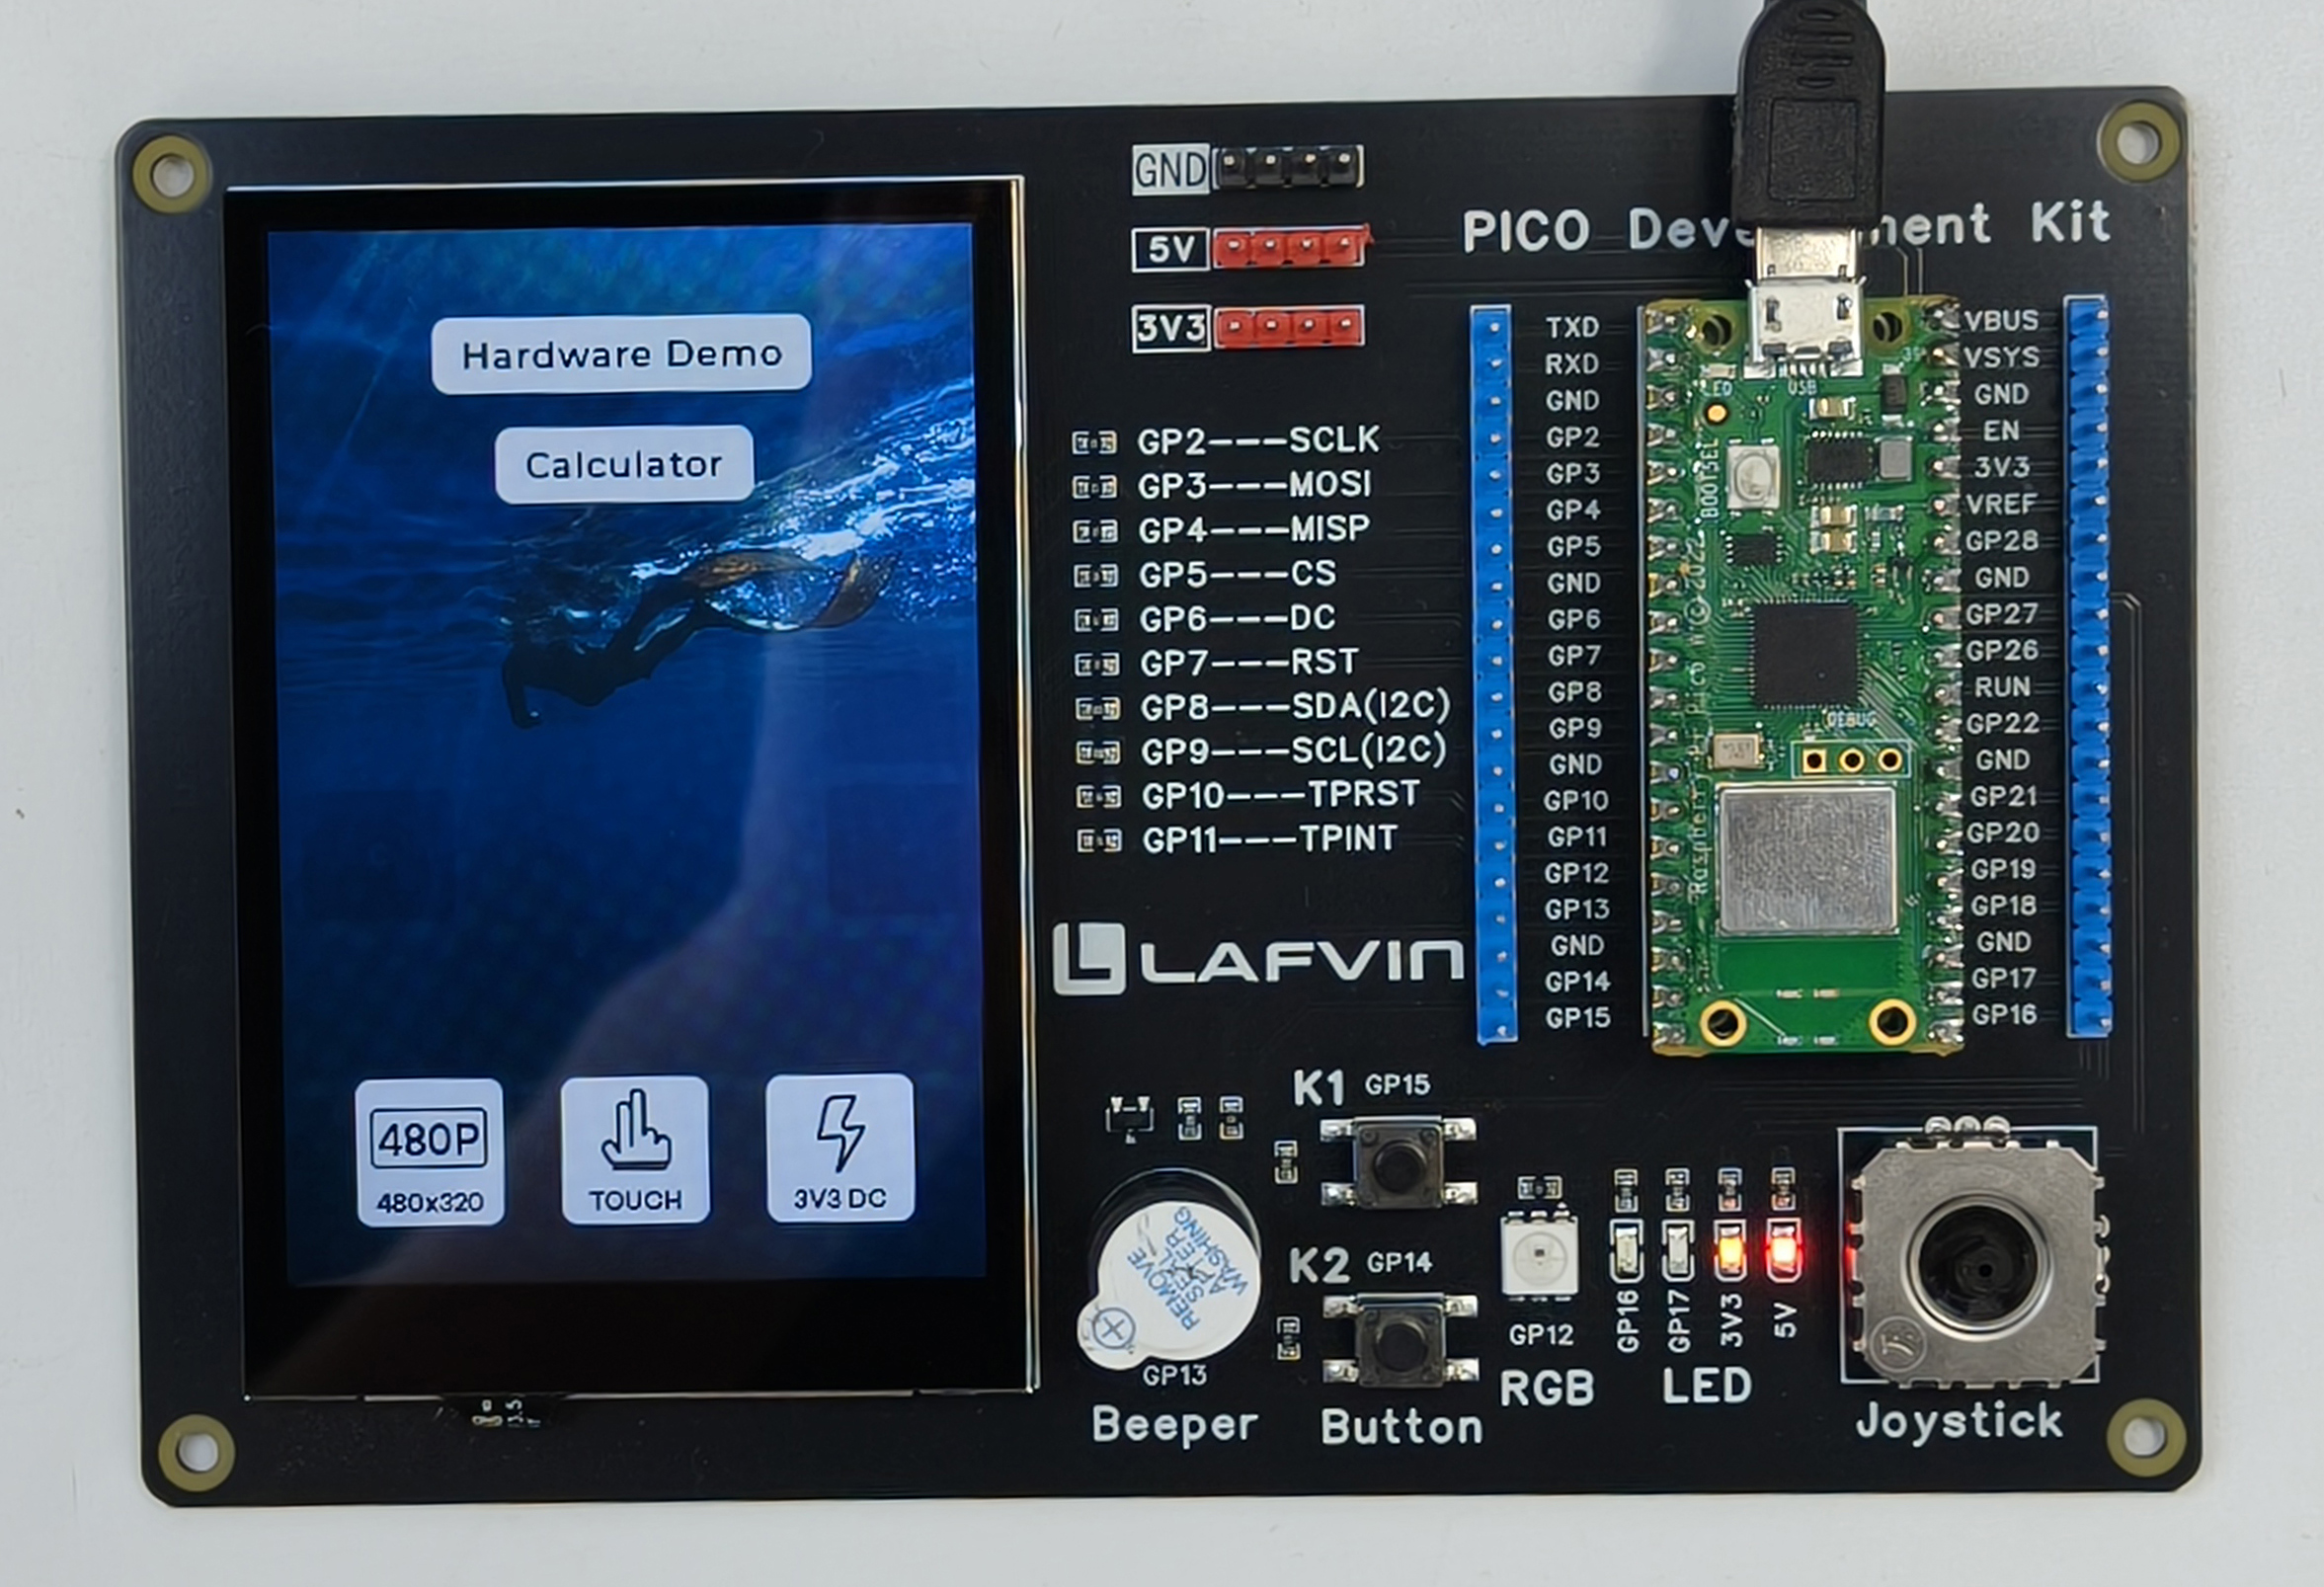
The screen should now display the main interface
Functional Testing
After successful flashing, let’s verify that all functions are working properly.
Main Interface Features
After flashing is complete, the screen will display two function options:
Hardware Demo - Hardware function demonstration
Calculator Demo - Calculator demonstration

Test Hardware Functions
Click the Hardware Demo button to enter hardware demonstration mode
In the hardware demo interface, you can test the following functions:
🔊 Buzzer - Test sound output
💡 RGB LED - Test colorful LED effects
🕹️ Joystick - Test analog joystick input
🔘 Buttons - Test button responses
Test each function in sequence to ensure the hardware is working properly
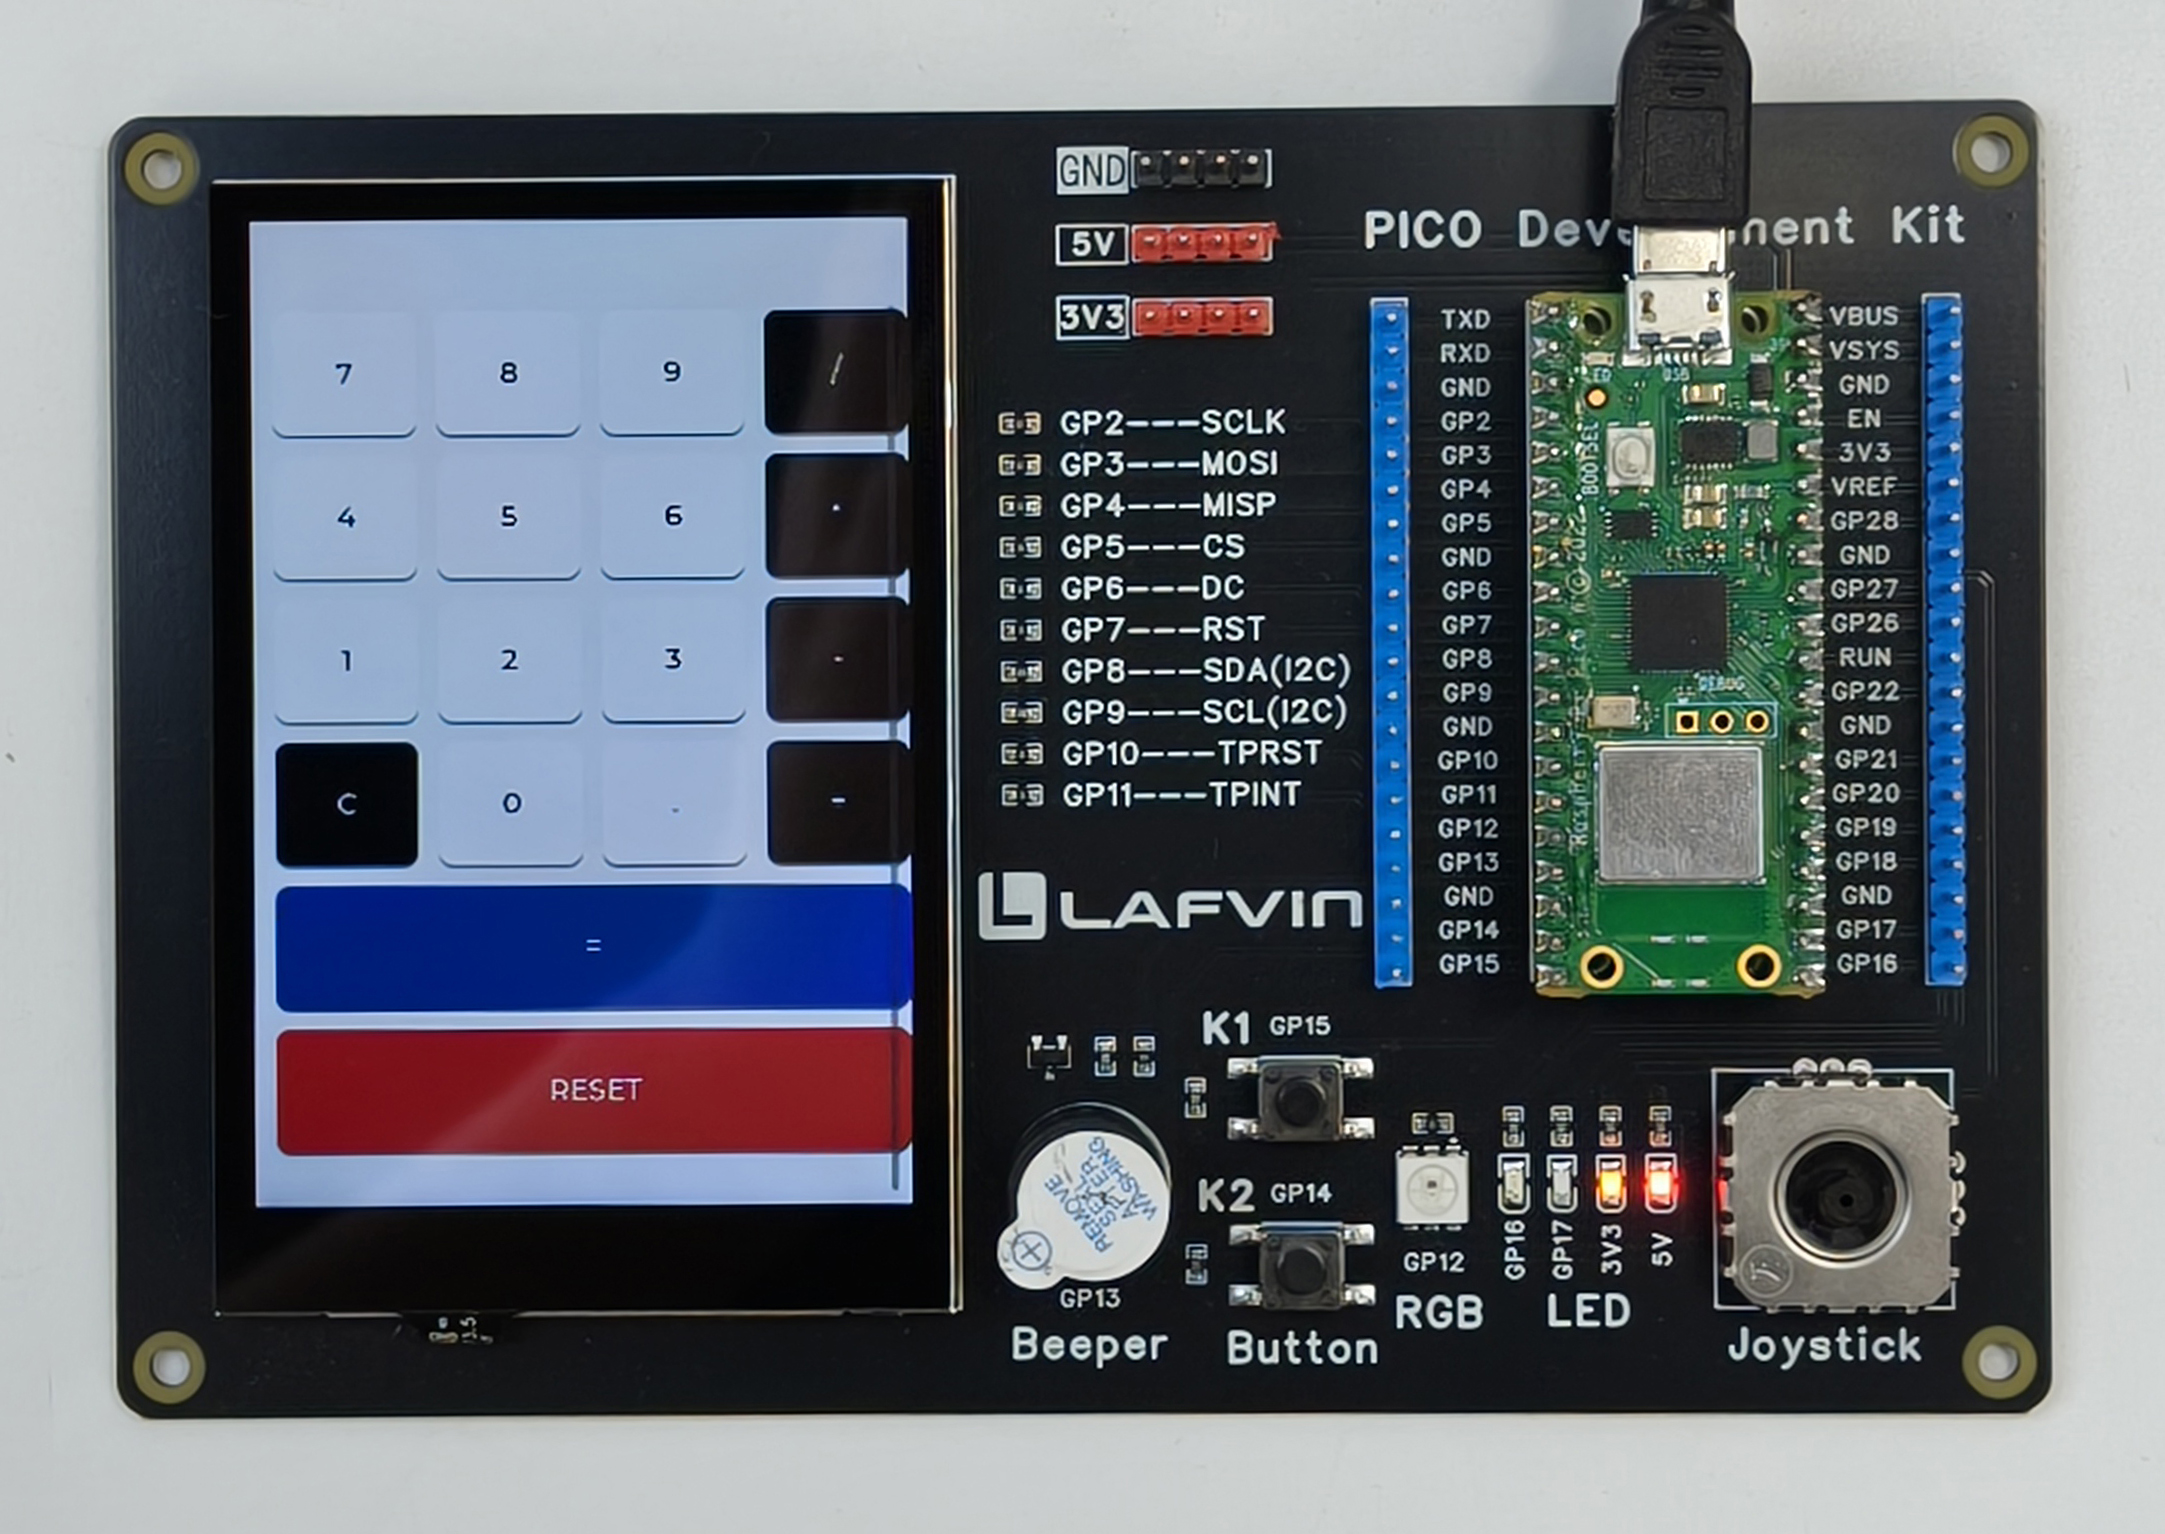
Test Calculator Function
Return to the main interface and click the Calculator Demo button
Try performing simple mathematical calculations to verify the touchscreen and calculation functions
Troubleshooting
If you encounter problems, please refer to the following solutions:
- No Display on Screen
Check if the Pico is correctly inserted into the baseboard
Check if USB power is normal
Try reflashing the firmware
- Abnormal Function
Confirm that you downloaded the latest version of the firmware file
Try clearing the Pico’s Flash and reflashing
Check if hardware connections are loose
- RPI-RP2 Disk Does Not Appear
Replace the USB data cable
Try other USB ports
Ensure the BOOTSEL button was held correctly
Next Steps
Congratulations! You have successfully completed the quick start guide.
If you want to modify code or develop your own applications, please check the 2. Advanced Development chapter